
How To Use a Coffee Maker: Step-by-Step Guide for Every Type

Coffee, that delightful brew that kickstarts our mornings and fuels our day. It’s not just about pouring hot water over coffee grounds; there’s an art to using a coffee maker, and getting it right can make all the difference. In my journey with coffee, I’ve discovered that the key to a perfect cup lies in understanding and skillfully using your coffee maker.
So, let’s get started.
Get to Know Your Coffee Maker
Before brewing that perfect cup, it’s essential to get acquainted with your coffee maker. This knowledge not only improves your coffee quality but also extends the life of your machine. As a barista, I’ve used various types and realized that each has its charm and technique.
A. Types of Coffee Makers: Drip, Pod, Espresso, and Others
Coffee makers come in various shapes and sizes, each with its unique method of brewing. Drip coffee makers are a staple in many households, known for their simplicity and consistency. Then there are pod coffee makers, like Keurig and Nespresso, offering convenience with their pre-measured, single-serving pods. Espresso machines are for those who love a strong, concentrated coffee. Let’s not forget other types like French press and AeroPress, which are beloved by many for their rich, full-bodied flavor.
Here are detailed step-by-step guides on using specific coffee makers:
1. Drip coffee makers
How to Use a Cuisinart Coffee Maker
How to Use a Ninja Coffee Maker
How to Use a Proctor Silex Coffee Maker
2. Pod coffee makers
How to Use a Flavia Coffee Machine
How To Use Keurig K-Duo Coffee Maker
3. Espresso Machines
How to Use Jura Coffee Machines: Jura E8, Jura S8, and Jura E6
4. Other types
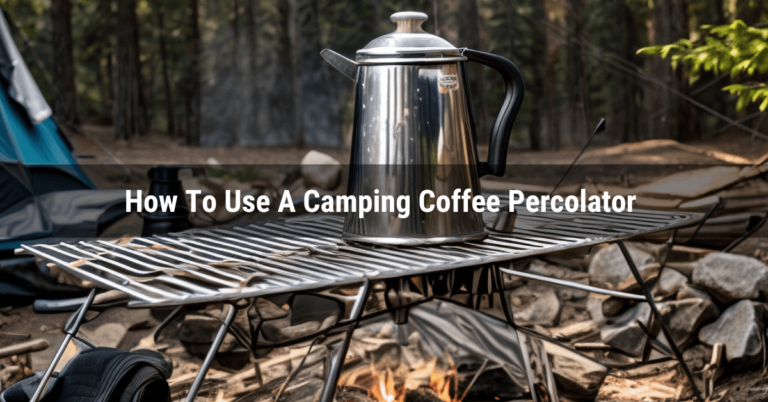
How To Use A Camping Coffee Percolator to Make Coffee
B. Essential Components: Carafe, Filter Basket, Water Reservoir, Heating Plate
Understanding the components of your coffee maker can greatly impact the quality of your brew. The carafe, usually glass or thermal, holds the coffee once it’s brewed. The filter basket is where you place the coffee grounds, and its role is crucial in determining the strength and flavor of your coffee. The water reservoir is where you add water – remember, the quality of your water can affect the taste. The heating plate keeps your coffee warm, but be cautious not to overheat and burn your coffee.
How to Use a Coffee Maker with a Filter
Learning to use a coffee maker with a filter can transform your home brewing experience. Follow these steps to brew a perfect cup each time:
Step 1 – Prepare the Coffee Maker: Cleaning and Assembly
Start by cleaning your coffee maker to ensure no residual flavors or contaminants alter your coffee’s taste. Use a mix of water and vinegar in equal parts, run it through a brewing cycle, then follow with a couple of cycles of plain water to rinse.
Ensure the filter basket is in place. If your machine has a detachable water reservoir, fill it and slot it back carefully.
Step 2 – Choose the Right Coffee Grounds
For filter coffee makers, medium grind works best. It’s similar in texture to sand. Avoid very fine grinds as they can lead to over-extraction and bitterness.
A general rule of thumb is to use one to two tablespoons of coffee grounds per six ounces of water. But feel free to tweak this based on your taste preferences.
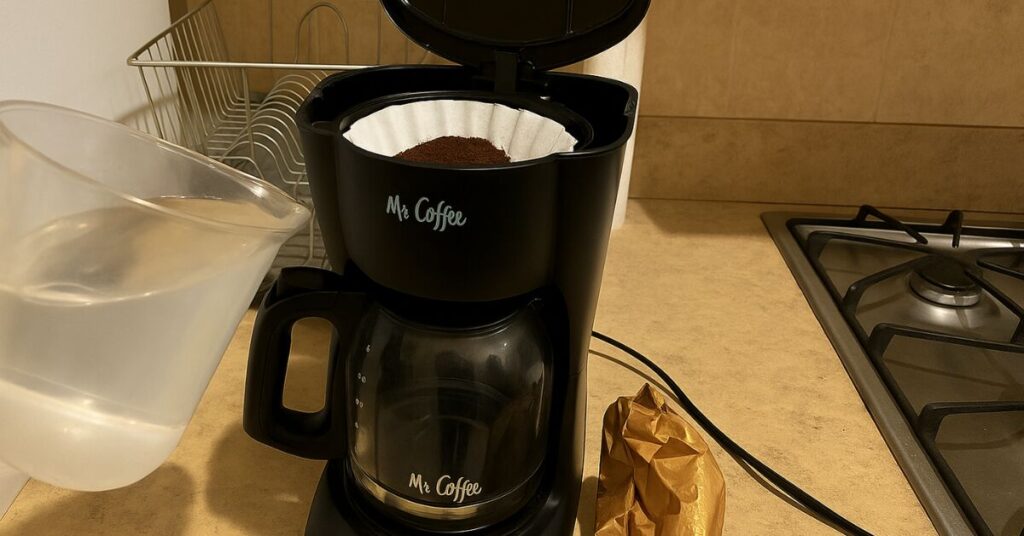
Step 3 – Load the Filter and Add Water
Place a paper filter in the basket (or use a reusable one if you have it). Add the ground coffee.
Pour cold, preferably filtered water into the reservoir. The amount of water should match the quantity of coffee you’ve added.
Step 4 – Brew
Turn on the coffee maker and let it do its magic. The water heats up, passes through the coffee grounds, and drips into the carafe.
A Tip – Don’t let the brewed coffee sit on the heating plate for too long to avoid a burnt taste. Also, using freshly ground coffee can greatly improve the flavor.
How to Use a Coffee Maker without a Filter
When you find yourself without a coffee filter, don’t fret! There are many clever, effective ways to brew a delightful cup of coffee without a filter. Let’s explore some resourceful alternatives that can save the day.
A. Using Household Items as Filters
Ever found yourself craving a coffee but realized you’re out of filters? No worries! There are several household items you can use as a makeshift filter. Let me share some of my personal experiences and tips:
1. Paper Towel: A quick and easy alternative. Just fold a paper towel into a cone shape and place it in your coffee maker’s filter basket. Make sure it’s sturdy enough to hold the coffee grounds. The key is not to overfill; otherwise, you might end up with a coffee flood!
2. Sock: Believe it or not, a clean, unused sock can do the trick. Just add your coffee grounds into the sock and use it as a filter bag. It’s like a DIY tea bag, but for coffee! The fabric filters out the grounds, leaving you with a smooth brew. Plus, it’s reusable and environmentally friendly.
3. Reusable Tea Bags: These are great for single servings of coffee. Just fill them with your coffee grounds and steep in hot water. The finer the grounds, the stronger your coffee will be. It’s a simple and clean method, perfect for those who don’t like dealing with messy coffee grounds.
4. Fine Mesh Sieve: If you have a fine mesh sieve, you can brew coffee directly into a pot and strain it. This method is similar to Turkish coffee but less fine. The sieve catches most of the grounds, but expect a bit more sediment than usual.
B. Brewing Coffee with Filterless Coffee Makers
Brewing coffee without a traditional filter doesn’t mean compromising on taste. In fact, I swear by filterless methods like the French press and AeroPress for a richer, fuller-bodied cup.
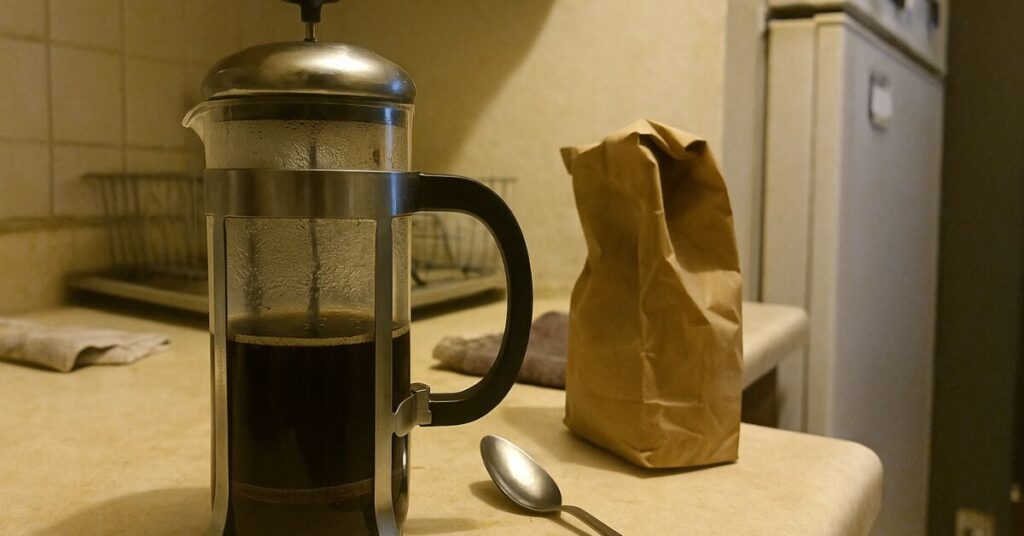
French Press Method
Step 1: Preheat your French press with hot water, then discard the water.
Step 2: Add coarsely ground coffee beans (about 1 tablespoon per 4 ounces of water).
Step 3: Pour hot water (around 200°F) over the grounds, filling the press.
Step 4: Stir gently and place the lid on the press, leaving the plunger up.
Step 5: Let it steep for 4 minutes.
Step 6: Slowly press the plunger down to separate the grounds from the brewed coffee.
Tips: The key to a great French press coffee lies in the grind size (coarse is best) and the steeping time. Too fine a grind or too long a steep can lead to a bitter brew.
AeroPress Method
Step 1: Assemble your AeroPress with a filter in the cap and place it over your mug.
Step 2: Add finely ground coffee (about 1.5 tablespoons).
Step 3: Pour in hot water (175°F to 185°F) to the halfway mark.
Step 4: Stir for about 10 seconds.
Step 5: Insert the plunger and press down gently but firmly until you hear a hissing sound.
Tips: The AeroPress excels with a finer grind and a shorter brew time, resulting in a clean, rich, and less bitter cup compared to traditional brewing methods. Adjust the grind size and water temperature to suit your taste preference.
Both the French press and AeroPress offer unique ways to enjoy coffee. The French press is ideal for a robust and rich brew, while the AeroPress is great for a cleaner, more refined cup. Experimenting with grind sizes, water temperatures, and brewing times will help you find your perfect cup.
How to Use a Coffee Maker with Pods
Pod coffee makers use either soft pods, hard pods, or capsules. Each type is specific to certain brands or models, like Keurig or Nespresso.
It’s crucial to use the right type of pod for your machine. Using an incompatible pod can result in a poor brew or even damage the machine.
Step 1 – Prepare the Machine
Fill the water reservoir and turn on the machine to heat the water. This process usually takes a few minutes.
Open the pod compartment, place the pod inside, and close it. Ensure it’s properly seated to avoid any mishaps during brewing.
Step 2 – Brew
Select the desired cup size and press the brew button. The machine will pierce the pod and force hot water through it, brewing your coffee into the cup.
Some pod machines allow you to adjust the brew strength and cup size. Experiment to find your perfect cup.
Environmental Considerations and Alternatives
Be aware of the environmental impact of single-use pods. Many brands offer recycling programs or sell eco-friendly pods.
Consider purchasing a reusable pod that you can fill with your own coffee. It’s a great way to reduce waste and experiment with different coffee blends.
How to Use a Coffee Maker with Milk
Step 1 – Select the Right Milk and Coffee Maker
Choose from whole milk, skim milk, or plant-based alternatives like almond or oat milk. Each type affects the texture and flavor of your coffee differently.
Espresso machines often come with a steam wand for frothing milk. There are also specialized coffee makers that can brew and froth milk simultaneously.
Step 2 – Prepare Milk for Coffee
Heat your milk to about 150-155°F (65-68°C) for optimal flavor and texture. For frothing, use a steam wand or a milk frother to create that creamy, airy foam.
Froth the milk until it’s velvety and has tiny bubbles. Avoid overheating, as it can alter the taste and quality of the milk.
Step 3 – Combine Coffee and Milk
For a latte, use one part espresso to three parts milk. For a cappuccino, it’s one part espresso, one part milk, and one part milk foam.
Pour the milk over the coffee slowly for a layered effect. If you’re feeling adventurous, try some basic latte art for an added touch of elegance.
Cleaning and Maintenance
Clean all parts that came into contact with milk immediately after use. Milk residues can quickly spoil and affect the taste of your next brew.
Regularly descale and clean your machine, especially the steam wand or frother, to prevent milk residue build-up.
Whether you prefer the simplicity of a filter, the convenience of pods, or the richness of a milk-based coffee, mastering your coffee maker can elevate your coffee experience significantly.
Remember, the quality of your coffee greatly depends on how well you maintain your coffee maker, so regular cleaning and maintenance are crucial.
Consider experimenting with different coffee beans and roasts to further refine your palate and brewing skills. Here’s to your next great coffee adventure, one cup at a time. Cheers!
FAQ
1. How much ground coffee to water for drip coffee?
For drip coffee, the ideal coffee-to-water ratio is 1:17. This means for every 1 gram of coffee, use 17 grams of water. Adjustments can be made for personal taste preferences, such as a 1:15 ratio for a stronger brew or a 1:18 ratio for a milder taste.
2. What is the size of a coffee scoop?
A standard coffee scoop typically holds about two tablespoons of coffee, which is approximately 10 grams or 0.36 ounces. This measurement can vary slightly based on the grind size and type of coffee.
3. How many scoops of ground coffee for drip coffee maker?
Typically, for a drip coffee maker, use one standard coffee scoop (about 7-10 grams) per 6 ounces of water. The exact number of scoops will depend on the desired strength and the capacity of your coffee maker.
4. How many scoops of coffee for 4 cups?
For 4 cups of coffee (assuming a cup is 6 ounces), you would need about 4-5 standard coffee scoops, depending on the desired strength. Each scoop should be about 7-10 grams.
5. How many scoops of coffee do you need for 6 cups?
For 6 cups of coffee, use approximately 6-7 standard coffee scoops. This is based on the standard coffee-to-water ratio and assuming each cup is about 6 ounces.
6. How many scoops of coffee for 8 cups?
For 8 cups of drip coffee, you would need about 8 standard coffee scoops (7-10 grams each) for a regular strength brew. If you prefer a stronger flavor, you might use 9-10 scoops.
7. How much ground coffee for 12 cups?
To brew 12 cups of coffee, use 12-24 tablespoons of ground coffee, which is equivalent to about 3/4 to 1 1/2 cups. This will yield 12 6-ounce servings, or about 6 standard 12-ounce mugs of coffee.