
How To Clean A Coffee Maker – A Step-by-Step Guide

Every morning, like clockwork, I’m greeted by the familiar, soothing aroma of freshly brewed coffee. Indeed, coffee plays an integral role in my daily routine. But let’s talk about something often overlooked—the health of our beloved coffee maker. You see, the secret to a great cup of coffee isn’t just in the beans or the brewing method—it’s in the cleanliness of your coffee maker.
By cleaning your coffee maker regularly, you’re not just ensuring great-tasting coffee but also extending its lifespan. I’ve learned the importance of this routine through my own experience, and in this guide, I’ll share with you daily and deep cleaning instructions for a variety of machines, including espresso machines, drip coffee makers, and single-serve pod machines.
Understanding Your Coffee Maker
As a passionate coffee enthusiast and a barista, I’ve experienced brewing with various coffee makers—ranging from the humble French press to the sophisticated espresso machine. Each type has its unique parts and requires specific cleaning. For instance, a drip coffee maker comprises a water reservoir, a brew basket, and a carafe, while an espresso machine may include additional elements like a portafilter and a steam wand.
Regardless of your coffee maker type, certain areas are infamous for collecting dirt and residues. The brew basket, where the coffee grounds are placed, often houses leftover grounds and oils. The carafe can develop stains and mineral deposits, particularly with hard water usage. The water reservoir might also harbor mineral build-up, affecting your machine’s heating efficiency. In the case of espresso machines, the steam wand can get obstructed with dried milk, influencing its functionality.
Daily Cleaning Routine
Step 1 – Empty and rinse the brew basket
After each brew, make it a habit to immediately empty and rinse the brew basket. This prevents the oils and tiny grounds from drying and sticking to the basket. Simply discard the used grounds (they make great compost!), rinse the basket under warm water, and voila! You’re done.
Step 2 – Clean the carafe with warm soapy water
Next up is the carafe. After each use, clean it with warm soapy water. A soft sponge or cloth is all you need to remove coffee stains and prevent mineral build-up. Rinse thoroughly to ensure no soap residue is left behind, as this can impact the taste of your next brew.
Step 3 – Wipe down the exterior of the machine
Lastly, don’t forget the exterior of your machine. A quick wipe-down with a damp cloth removes any coffee splatters or fingerprints, making your coffee maker appear as good as new. After all, cleanliness contributes to a more cheerful coffee brewing experience!
Deep Cleaning Process
When to Deep Clean Your Coffee Maker & Why
I remember this one particular month when I was busier than usual. My daily coffee habit stayed, but the cleaning took a backseat. By the end of the month, my coffee had a bitter taste, and the coffee maker wasn’t performing optimally. That’s when I learned the value of deep cleaning (or descaling) my coffee maker. A regular cleaning ritual helps rid your machine of mineral deposits, coffee oils, and impurities that accumulate over time. From my experience, a monthly deep clean is great for those who use their machine heavily, but for light users, every three months will do the trick.
Deep Cleaning a Drip Coffee Maker: A Step-by-Step Guide
Here’s how I approach deep cleaning my drip coffee maker:
Step 1 – Prepare for Deep Cleaning
Unplug the machine and remove any leftover coffee grounds. Detach the removable parts, such as the brew basket and carafe, and give them a good scrub with warm soapy water
Step 2 (Option 1) – Using Commercial Cleaner
I find commercial coffee maker cleaners pretty handy for a thorough cleaning. These products are designed to effectively remove mineral deposits and coffee oils. Just follow the instructions on the package.
Step 2 (Option 2) – Using Natural Alternatives (e.g., vinegar solution)
If you prefer a natural alternative, a vinegar solution works wonders. Fill the water reservoir with a 1:1 mixture of white vinegar and water. Run a brew cycle halfway, then turn off the machine and let the solution sit for about 30 minutes. After that, finish the brew cycle. Rinse thoroughly by running 2-3 brew cycles with clean water.
Step 3 – Rinse and Dry the Coffee Maker
Finally, rinse the machine to remove any remnants of the cleaning solution. Run a couple of brew cycles with clean water or until the water no longer smells of vinegar. Dry all the parts well before putting the machine back together.
Deep Cleaning an Espresso Machine: A Step-by-Step Guide
I had my share of challenges when I got my first espresso machine. But over time, I’ve developed an effective deep cleaning routine:
Step 1 – Clean the Group Head
Start with the group head. Remove coffee grounds using a stiff plastic brush, focusing around the seal area where coffee grounds usually pile up.
Step 2 – Use a Chemical Cleaner
For a comprehensive clean, I usually use a chemical cleaner like Cafiza. Adding the cleaner to the blind filter in the portafilter, I insert it into the group head. Then, I run a shot to backflush the machine. Repeat this process a few times, then rinse thoroughly by running shots with the blind filter (without the cleaner).
Deep Cleaning a French Press: A Step-by-Step Guide
My French press, despite its simplicity, requires careful cleaning. Here’s my process:
Step 1 – Remove Coffee Grounds
First, get rid of the coffee grounds. I use a rubber spatula to scrape them into a compost bin.
Step 2 – Clean with Warm Water and Dish Soap
Next, fill the carafe with warm water and a teaspoon of mild dish soap. Pump the plunger a few times, then rinse thoroughly.
Step 3 – Deep Clean the Plunger and Filter Screens
For a more thorough clean, disassemble the plunger and filter screens. Scrub them using a brush and warm soapy water. Rinse well and let them air dry before reassembly.
Deep Cleaning a Single-Serve (Pod) Coffee Maker: A Step-by-Step Guide
Step 1 – Empty the Machine
Start by removing any used pods and emptying the drip tray.
Step 2 – Descale
Next, if you’re using a descaling solution, add it to the water reservoir and top it up with water.
Step 3 – Run a Brew Cycle
Run a brew cycle without a pod until the reservoir is empty.
Step 4 – Rinse
Finally, rinse well by running several brew cycles with clean water.
If you’re using a vinegar solution, the process is similar. The reservoir is filled with equal parts white vinegar and water, and a brew cycle is run without a pod until the reservoir is empty. Rinse thoroughly by running several brew cycles with clean water.
Certain brands like Keurig or Nespresso have specific cleaning instructions, so it’s best to check the user manual. Some models even have a descaling notification, which is quite handy. Following the recommended descaling solution and the manufacturer’s instructions helps keep the machine in top shape for a longer period.
Cleaning Specific Components of a Coffee Maker
Cleaning the Water Reservoir
The water reservoir is a common area for mineral deposit accumulation, especially if you use hard water. To clean it, fill it with a 1:1 mixture of white vinegar and water. Run a brew cycle halfway, then let the solution sit for about 30 minutes. Finish the brew cycle, then rinse thoroughly by running 2-3 brew cycles with clean water.
Cleaning the Coffee Pot
Over time, the coffee pot or carafe may develop stains and mineral deposits. To clean it, fill it with warm soapy water and scrub gently with a soft sponge or cloth. For stubborn stains, a mixture of vinegar and baking soda can do the trick. Rinse thoroughly to ensure no soap residue is left.
Cleaning Stainless Steel Coffee Pots
Stainless steel pots need a delicate touch to prevent scratches. Use a soft sponge or cloth and a mild dish soap. For stubborn stains, you can use a baking soda paste. Rinse thoroughly and dry with a soft cloth to avoid water spots.
Cleaning the Milk Wand
A milk wand, if your machine has one, needs to be cleaned after each use to prevent clogs from dried milk. A quick wipe with a damp cloth usually does the trick, and for a deep clean, soak it in warm soapy water and clean the inside with a small brush.
Cleaning Guidelines for Specific Coffee Maker Brands
Each brand has its unique features that may require a special cleaning approach. Here are some cleaning guides based on my experience with different brands:
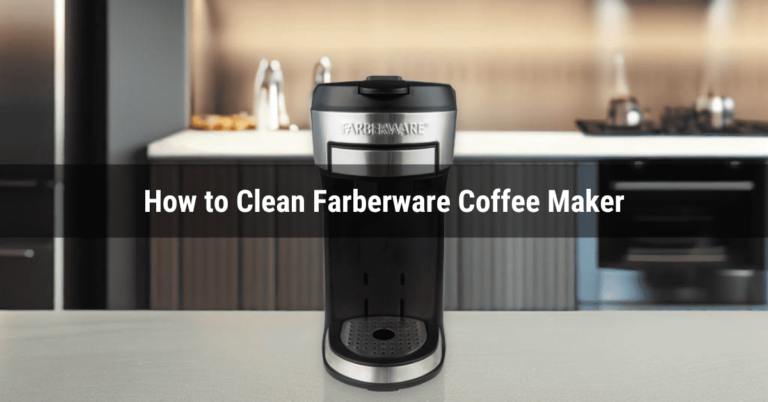
1. How to Clean a Farberware Coffee Maker
Farberware coffee makers are known for their classic percolator design. Cleaning involves disassembling the percolator, washing each part with warm soapy water, and using a vinegar solution for descaling.
2. How to Clean a Braun Coffee Maker
Braun coffee makers feature a sleek design and advanced features like a charcoal water filter. Regular cleaning includes washing the carafe and filter basket, and descaling with a vinegar solution or a Braun descaling solution.
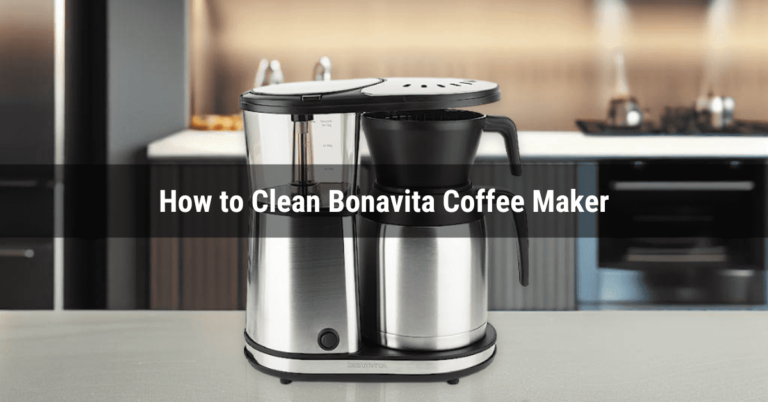
3. How to Clean a Bonavita Coffee Maker
Bonavita coffee makers are beloved by coffee enthusiasts for their showerhead water delivery and pre-infusion mode. Cleaning involves washing the carafe and filter basket, and descaling with a vinegar solution or a descaling powder.
4. How to Clean a Jura Coffee Machine
Jura coffee machines are high-end espresso machines with built-in grinders. Cleaning involves running a rinse cycle, cleaning the drip tray and coffee grounds container, and using a Jura descaling tablet for descaling.
5. How to Clean a Wolf Coffee Maker
Wolf coffee makers are built-in systems that can make a variety of coffee drinks. Cleaning involves washing the brew basket and carafe, cleaning the milk frother, and using a descaling solution for descaling.
6. How to Clean a Cuisinart Coffee Grinder
Cuisinart coffee grinders ensure fresh, high-quality grounds from your coffee beans. Cleaning requires disassembling the grinder, brushing the grind chamber, and washing the lid and hopper with soapy water.
7. How to Descale a Smeg Coffee Maker
Smeg coffee makers are recognized for their retro aesthetics and high functionality. Descaling includes emptying the water tank, initiating the descaling mode, and running a descaling solution or vinegar through the machine until the tank is empty.
8. How to Descale Nespresso Vertuo Next
The Nespresso Vertuo Next offers a modern approach to coffee making. Descaling involves emptying the water tank, using the Nespresso descaling solution, and following the machine’s specific descaling procedure to ensure optimal performance.
Keurig Duo combines traditional drip coffee with K-cup brewing. Descaling this dual-function machine requires emptying both water reservoirs and running a descaling solution through the machine to maintain its brewing efficiency.
10. How to Descale Keurig K-Supreme K910 & K-Supreme Plus K920
Keurig K-Supreme models K910 and K920 feature advanced brewing technology. Descaling these models involves using Keurig’s descaling solution and following a step-by-step process to ensure the machine continues to deliver high-quality coffee.
11. How to Descale Nespresso VertuoPlus
Nespresso’s VertuoPlus stands out for its versatility in coffee brewing. To descale, you need to empty the water tank, use the Nespresso descaling solution, and follow the machine-specific instructions to keep it functioning smoothly.
12. How to Descale De’Longhi Espresso Machine
De’Longhi espresso machines are celebrated for their Italian design and espresso quality. Descaling involves using a specific De’Longhi descaling solution and following the machine’s descaling cycle to maintain its espresso excellence.
13. How to Descale Delonghi Magnifica
The Delonghi Magnifica is renowned for its automated espresso brewing. Descaling this machine requires using the Delonghi EcoDecalk descaler and following a specific procedure to ensure the machine continues to produce perfect espresso.
Remember, always refer to the user manual for specific cleaning instructions for your coffee maker model.
Identifying When Your Coffee Maker Needs Cleaning
Obvious signs such as slow brewing or a strange taste are common indicators that your coffee maker needs cleaning. Other signs include a build-up of coffee grounds in the brew basket, stains or mineral deposits in the carafe, or an unpleasant smell from the machine. My rule of thumb is a clean after each use and a deep clean every one to two months. But remember, the frequency can vary depending on the type of coffee maker and how often you use it.
Tips to Prevent Buildup in Your Coffee Maker
Here are a few tips I’ve picked up over the years to prevent build-up in a coffee maker:
1. Use Filtered Water
Hard water can cause mineral build-up in your coffee maker. Filtered or bottled water can help prevent this, and it can enhance your coffee’s taste too!
2. Leave the lid open after brewing and cleaning
This allows the machine to dry completely, reducing the chances of mold or bacterial growth.
3. Regularly empty and rinsing the brew basket
Make a habit of emptying and rinsing the brew basket after each brew. This can help prevent the build-up of coffee grounds and oils, which can affect the taste of your coffee and potentially clog your machine.
A clean coffee maker is a vital part of excellent coffee making. It ensures that your coffee tastes as good as it can and prolongs the machine’s life. We’ve explored everything from daily cleaning routines to deep cleaning in this guide. Let’s treat our coffee makers with the respect they deserve because the quality of our coffee depends on them. Here’s to more great coffee experiences with a clean and happy coffee maker!
FAQ
1. Does vinegar really clean a coffee maker?
Yes, vinegar is a natural descaler and can effectively clean your coffee maker. It helps remove mineral deposits and coffee oils that can affect the taste of your coffee and the performance of your machine.
2. How much vinegar do you put in a 12-cup coffee maker to clean it?
For a 12-cup coffee maker, use a 1:1 ratio of vinegar to water. That means 6 cups of vinegar and 6 cups of water.
3. How many times should you run vinegar through a coffee maker?
Run a brew cycle with the vinegar solution once, then let it sit for about 30 minutes before finishing the brew cycle. Rinse thoroughly by running 2-3 brew cycles with clean water.
4. How do you clean the inside of an electric coffee maker?
You can clean the inside of an electric coffee maker by running a brew cycle with a vinegar solution or a commercial descaling solution. This helps clean the internal parts of the machine.
5. What is the ratio of vinegar to water to clean a coffee maker?
The recommended ratio of vinegar to water for cleaning a coffee maker is 1:1.
6. Can you use baking soda and vinegar to clean a coffee maker?
While both baking soda and vinegar are effective cleaners, they should not be used together as they can react and cause a mess. Use them separately for cleaning different parts of your coffee maker.
7. Is vinegar or baking soda better for cleaning a coffee maker?
Both vinegar and baking soda are effective for cleaning coffee makers. Vinegar is great for descaling and cleaning the internal parts, while baking soda is good for cleaning stains and mineral deposits.
8. Is apple cider vinegar better than white vinegar for cleaning a coffee maker?
While apple cider vinegar can be used for cleaning, white vinegar is usually recommended for cleaning coffee makers due to its higher acidity.
9. How do you clean Mr. Coffee maker with vinegar?
To clean a Mr. Coffee maker with vinegar, fill the water reservoir with a 1:1 mixture of white vinegar and water. Run a brew cycle halfway, let the solution sit for about 30 minutes, then finish the brew cycle. Rinse thoroughly by running several brew cycles with clean water.
10. How long do you let vinegar sit?
When cleaning your coffee maker with vinegar, let the vinegar solution sit in the machine for about 30 minutes during the brew cycle.
11. How long do you let vinegar sit in Keurig?
When descaling a Keurig with vinegar, let the vinegar solution sit in the machine for about 30 minutes during the brew cycle.
12. Can you use anything other than vinegar to clean a coffee maker?
Yes, you can use commercial descaling solutions or citric acid to clean your coffee maker. Always follow the package directions when using these products.