

How to Clean and Descale Your Keurig Coffee Maker at Home

If your Keurig has been making weird noises, brewing slower than usual, or suddenly serving coffee that tastes a little off, you’re probably overdue for a descale. We get it, cleaning a coffee maker doesn’t exactly spark joy, but skipping it can mess with your morning routine. This guide covers how to descale a Keurig the right way, what to use, when to do it, and how to make sure you never have to sip a funky-tasting cup again. Let’s break it down into steps that actually make sense and don’t require a chemistry degree.
What You’ll Need
Before we jump into the descaling process, gather everything you’ll need. Trust me, it’s easier when you’re not scrambling mid-way trying to find a clean mug.
- Descaling solution: One full bottle (usually 14 oz) of Keurig’s official solution or go with a homemade mix using white vinegar. You don’t need both, just pick one. If you’re going the DIY route, use equal parts distilled white vinegar and water, about 10 oz each. No apple cider, no red wine vinegar, and definitely no balsamic.
- Large ceramic mug: No travel tumblers or plastic cups here. You need something that can handle heat and a good amount of liquid, at least 10 to 12 oz.
- Fresh water: You’ll need around 40 to 50 oz of clean water for rinsing things out once the descaling part is done.
- Access to a sink: Doesn’t need explaining. You’ll be rinsing, refilling, and dumping repeatedly. If your Keurig is on a cart in the living room, now’s the time to relocate it.
Step-by-Step Guide to Descaling
There are two solid ways to descale a Keurig. One uses the official Keurig descaling solution, the other uses white vinegar as a DIY alternative. Both methods follow a similar process, but the solution is gentler and less likely to leave a smell behind. Vinegar, on the other hand, is cheaper and easier to find in most kitchens.
Pick whichever method fits what you’ve got on hand. Either way, your Keurig is going to thank you with better-tasting coffee and smoother brews.
Method 1: Using Keurig Descaling Solution
1. Turn off your Keurig and unplug it.
It’s not just a safety thing, it helps reset the system.
2. Empty the water reservoir.
Pour out anything left inside. Start with a clean tank so the descaling mix works properly.
3. Remove any K-Cups and the water filter.
Your K-Cup holder should be empty, and if you use a water filter cartridge, take that out too. The descaling solution shouldn’t run through the filter.
4. Pour the descaling solution into the reservoir.
Shake the bottle if needed, then pour the entire contents into the tank.
5. Add fresh water to the reservoir, filling it to the max line.
Diluting the descaling solution is part of the process, so don’t skip this. Use cool, clean water.
6. Place a mug on the drip tray.
A big ceramic mug is best. You’ll be brewing without coffee, and the liquid needs somewhere to go.
7. Run a brew cycle without a K-Cup.
Choose the largest cup size, then press brew. The hot solution will start moving through the system.
8. Repeat until the reservoir is empty.
Keep brewing and emptying the mug until the tank runs dry. Don’t rush it. Let each cycle finish properly.
9. Let the machine sit for 30 minutes.
Once the tank is empty, leave your Keurig powered on and just let it rest. This gives the descaling solution time to work on the inner parts.
10. Rinse the reservoir thoroughly.
After 30 minutes, take out the reservoir and wash it well with soap and water. You don’t want any solution left behind.
11. Fill the reservoir with fresh water.
This is the rinse cycle. No shortcuts here. Fresh, cool water only.
12. Run multiple brew cycles with just water to flush out any remaining solution.
Keep running water-only brews (no K-Cup) until the tank is empty again. Usually, 3 to 4 full cycles are enough, but you can go more if you want to be extra sure.
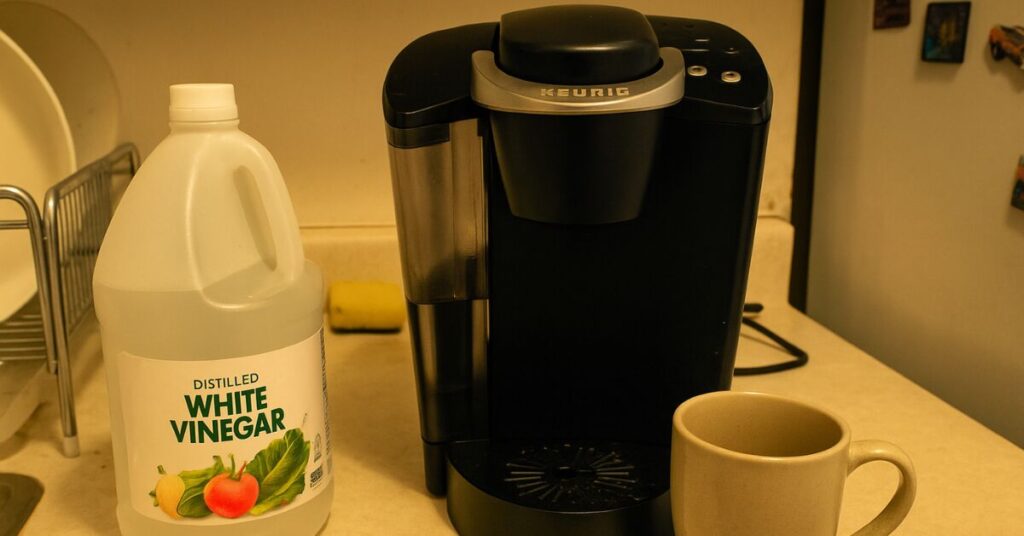
Method 2: Using White Vinegar
1. Turn off and unplug your Keurig.
Same as before, always safer to clean with the power off.
2. Empty the water reservoir.
Dump out any leftover water. You want a clean slate before adding the vinegar mix.
3. Remove any K-Cups and the water filter.
No pods, no filters. The vinegar mixture doesn’t need anything getting in its way.
4. Fill the reservoir with a mixture of equal parts white vinegar and water.
About 10 oz each. Use distilled white vinegar, not apple cider or anything fancy. Fill the tank halfway with vinegar, then top it off with clean water.
5. Place a mug on the drip tray.
Pick a large ceramic mug that can handle heat. You’ll be cycling through a good amount of liquid.
6. Run a brew cycle without a K-Cup.
Just press brew and let the machine run like you’re making coffee. Except now it’s vinegar water doing the work.
7. Repeat until the reservoir is empty.
Keep hitting brew and dumping the mug into the sink until the tank runs dry. Let the machine do its thing at its usual pace.
8. Let the machine sit for 4 hours.
Letting it sit gives the vinegar time to loosen up all the buildup inside.
9. Rinse the reservoir thoroughly.
Take it out, scrub it with warm water and a bit of dish soap if needed, and make sure all traces of vinegar are gone.
10. Fill the reservoir with fresh water.
Only use clean, cool water. No vinegar this time.
11. Run multiple brew cycles with just water to flush out any remaining vinegar.
Keep brewing and dumping until there’s no vinegar smell left. Usually, 3 to 5 full tanks of water does the trick.
Related: How to Descale Keurig Duo
Related: How to Descale Keurig K-Supreme K910 & K-Supreme Plus K920
Related: How to Descale Keurig Slim
Some Tips for Effective Descaling
You’ve made it through the actual descaling part, but a few small habits can help you avoid needing to do it again anytime soon. These aren’t big “rules”, just smart tweaks that’ll keep your Keurig humming.
a) Use filtered water instead of tap
Filtered water means less calcium and magnesium floating around, which means less gunk clinging to the inside of your machine. It also means your coffee tastes a little better.
b) Set a reminder on your phone to descale every few months
Most people forget this step until the machine starts wheezing out a quarter cup of coffee and the descale light is screaming. Scheduling it like a dentist appointment (but easier and with caffeine at the end) saves a lot of hassle.
c) Wipe down the outside and rinse removable parts once a week
This one feels obvious, but it’s easy to ignore. Crumbs, dried splashes, and old drips build up over time. Cleaning the drip tray, K-Cup holder, and lid area keeps things hygienic and less gross.
d) Swap out your water filter cartridge about every two months
If your model uses one, don’t let it sit in there for a year pretending it’s still doing its job. A fresh filter helps catch minerals early before they settle inside the tubing.
What to Do If the Descale Light Won’t Turn Off
You did the whole process, ran water-only cycles like a champ, and the light is still on. It’s like your Keurig doesn’t believe in second chances. Don’t worry, this is a common issue, and it’s usually an easy fix.
Some models are a little dramatic. They don’t always recognize that you completed the descaling process unless it’s done a very specific way. Missing one step or powering off too soon can make the machine think you’re still in the middle of it.
Try a reset, the quick and easy way
Unplug the machine, wait for 30 seconds, then plug it back in. Sometimes that’s all it takes to clear the internal memory and get that light to chill.
You may need to run the descaling steps again
If it still won’t go away, don’t panic. Some machines need a full second round of the process to clear the alert. It’s annoying, yes, but it usually works.
Here’s a trick that worked for me
Once, I powered through two rinse cycles like normal, but the light stayed on. Turns out, I forgot to press the largest cup size during those rinses. After repeating the last few steps using the biggest brew size, the light finally gave up and turned off. Wish I’d known that before wasting half my afternoon trying everything else.
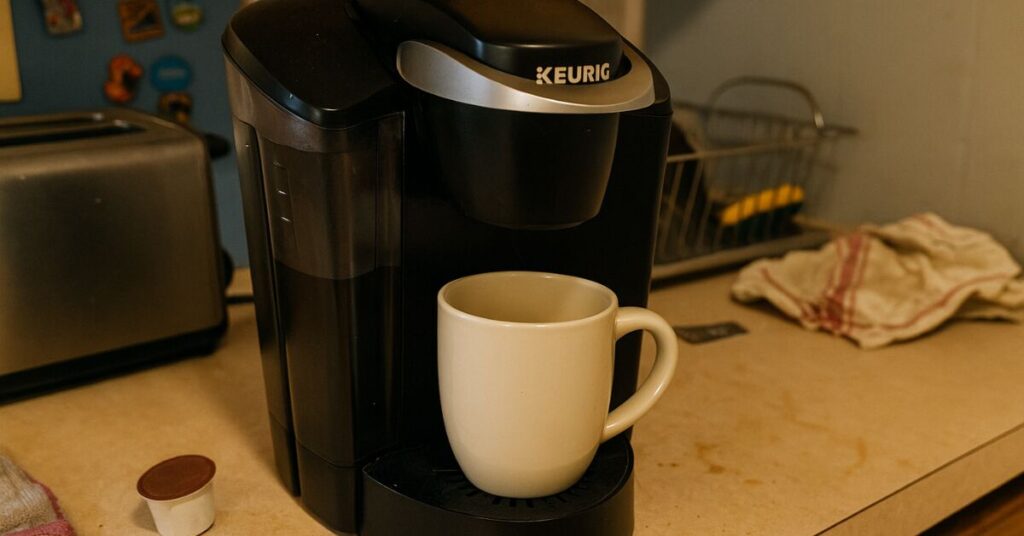
Keurig Descaling Common Mistakes
You wouldn’t believe how many people try descaling a Keurig and accidentally make it worse. No judgment here, we’ve made some of these ourselves. If you’re wondering how do you descale a Keurig the right way, avoiding these missteps will save you time and headaches.
Using the wrong kind of vinegar
It has to be plain white vinegar. Apple cider, balsamic, or anything flavored is a hard no. They’ll leave behind a smell or taste you do not want in your morning brew1.
Thinking a quick rinse is enough
Running one or two cups of water after descaling isn’t going to cut it. You need to flush out all of the solution or vinegar completely. Otherwise, your coffee might taste like a chemistry experiment gone wrong.
Forgetting to remove the pod holder
This one sneaks past people. The pod holder can collect gunk and scale buildup too. Take it out, rinse it well, and scrub if needed. Don’t let it sit in there coated with who-knows-what.
Skipping the final rinse cycle
That post-descaling rinse cycle isn’t optional. If you don’t run several rounds of clean water afterward, the inside of your machine will hold onto that sour vinegar flavor like it’s seasoning. Not ideal.
Trying to descale while it’s still plugged in and hot
We’ve seen this happen in the rush to get coffee fast. Descaling a hot machine can mess with how well the solution works, and it’s not safe. Cool it down first, then unplug it and get started.
Signs Your Keurig Needs Descaling
Not sure if your Keurig is due for a cleanout? It usually gives you a few clues. Some are subtle, others are less polite about it. Knowing what to watch for can help you stay ahead of the game when it comes to descaling a Keurig.
Slower brewing times
If it feels like your machine is taking a full minute just to drip out half a cup, that’s not normal. Mineral buildup clogs the internal tubing, which slows everything down.
Weird noises during brewing
If you hear sputtering, grinding, or those “trying to breathe through a straw” sounds, there’s a good chance your machine is struggling with a partial blockage.
The descale light comes on
This one’s obvious, but it’s not just a suggestion. That light is the machine’s way of saying, please clean me. Follow your Keurig descale instructions as soon as it shows up.
Your coffee starts tasting off
Maybe it tastes bitter, flat, or just…weird. If your favorite pod suddenly disappoints, it might not be the coffee. A dirty system messes with water temperature and flow, which changes the flavor more than you’d think.
How Often Should You Descale?
Every 3 to 6 months is a solid baseline. That’s the general rule for most people. If you’re only making one or two cups a day, you can probably stretch it closer to the six-month mark. Brew more often, clean more often. Simple math. If you use your Keurig daily or have hard water, aim for every 2 to 3 months. Hard water is full of the stuff that causes scale, and it builds up faster than you think2.
Filtered or bottled water can buy you more time. It doesn’t just help with flavor, it slows down mineral deposits too. It won’t eliminate the need to descale, but you might be able to push it to the longer end of that 3 to 6 month range.
Clean Machine, Better Coffee
Once you’ve gone through the steps, rinsed everything out, and the descale light finally gives up, your Keurig is going to run smoother and brew better coffee. It’s one of those maintenance things that doesn’t feel urgent until your machine starts acting up, and then suddenly it’s all you can think about. So now that you know how to descale a Keurig coffee maker the right way, you’re ahead of the game. Keep a bottle of descaling solution or a jug of vinegar on hand, set a reminder every few months, and you’ll be sipping clean, strong coffee without surprises.
FAQs
1. Can I use lemon juice instead of vinegar to descale my Keurig?
You can, but it’s not ideal. Lemon juice is acidic, sure, but it tends to leave behind a sticky residue and a citrusy smell that takes forever to rinse out. Vinegar or an official descaling solution is a safer bet.
2. Does descaling fix all brewing issues?
Not always. If your Keurig is leaking, shutting off mid-brew, or not powering on, descaling might not be the solution. It helps with mineral buildup, but mechanical problems need a different fix.
3. Can I use CLR to descale my Keurig?
Skip it. CLR and similar cleaners are too strong and can damage your machine. Unless the label says it’s safe for coffee makers, don’t risk it.
4. What’s the best way to prevent scale buildup in the first place?
Filtered water is your best friend here. You can also empty the reservoir at night if you’re not using the machine daily. Less standing water means fewer minerals hanging around.
5. Why does my Keurig still taste weird after descaling?
Chances are it just needs more rinsing. Run a few extra water-only cycles, scrub the reservoir and pod holder again, and leave the lid open overnight to help clear out any lingering vinegar smell.
6. Can I descale my Keurig Mini the same way?
Yes, the steps are nearly identical. Just know that some Mini models don’t have a descale light, so you’ll need to go by feel and frequency rather than waiting for a warning.
7. How do you reset the descale light on a Keurig?
It depends on the model, but a common method is unplugging the machine for 30 seconds, plugging it back in, and then holding down the 8 oz and 10 oz buttons together for a few seconds. If that doesn’t work, try running one more water-only cycle using the largest cup setting.
8. What buttons do you push to descale a Keurig?
On most newer models, once the descale light turns on, you’ll press both the 8 oz and 12 oz buttons at the same time to enter descale mode. For others, you just run brew cycles manually using the largest cup size. Always check your user manual, since button combos vary by model.
9. How to unclog a Keurig needle?
Power off the machine, remove the pod holder, and use a straightened paperclip or Keurig’s cleaning tool to gently poke into the needle. It clears out any old coffee grounds that might be blocking the flow.