

How to Descale Keurig Slim and Reset the Descale Light Step by Step

Wait, Do I Have to Descale the Keurig Slim?
Yes. And here’s why.
Descaling sounds like something you’d do to a fish or a rusty pipe, but for your Keurig Slim, it’s just a deep clean. Over time, minerals in your water, especially if you’re using hard tap water, build up inside the machine. That crusty stuff? It’s mostly calcium, and it’s clogging things up from the inside.
Now, if you’re tempted to skip it, here’s what you’re signing up for:
- Your coffee might start tasting a little off, like bitter or weirdly flat
- The machine might get louder, groaning and hissing like it’s had enough
- You’ll notice slower brews, or partial cups instead of the full pour you asked for
- The descale light turns on, stares at you, and won’t take the hint to leave
Hot Tip: Even if that little descale light isn’t lit, it’s still smart to descale every 3 to 6 months. Think of it like dental cleaning for your coffee maker, not glamorous, but it saves you from bigger problems later.
What You’ll Need Before You Begin
Don’t start pressing buttons yet. Grab your supplies first.
Here’s the short checklist:
- Keurig Descaling Solution or plain white vinegar (Not apple cider, not lemon juice, and definitely not “natural cleaner” from TikTok)
- A large ceramic mug (at least 10 to 12 oz, and no, paper or travel mugs aren’t invited)
- Fresh water, for flushing out the system once the vinegar or solution’s done its job
- A sink nearby, because yes, there will be some dumping and maybe a splash or two
- 30 minutes of your time and a little patience (like, the kind you save for assembling IKEA furniture)
Hot Tip: If your Keurig Slim is still under warranty, stick with the official Keurig descaling solution. It’s safe, predictable, and won’t give Keurig any reason to void your warranty.
Keurig Slim Descaling Instructions
Let’s break it down, nice and easy. Whether you’re going the official route or team vinegar, the goal is the same, kick out the mineral buildup that’s messing with your morning.
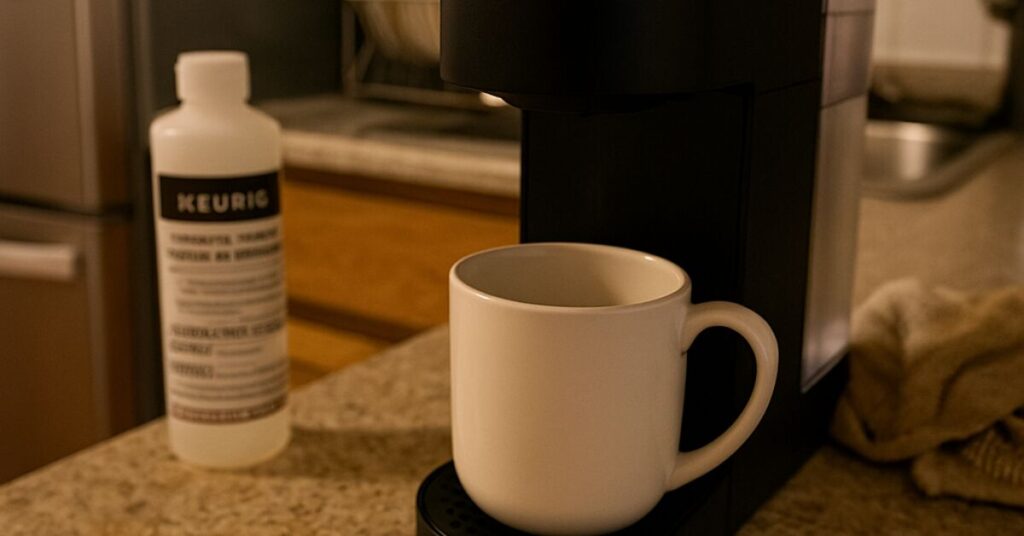
How to Descale Keurig Slim With Keurig’s Official Solution
This is the method Keurig wants you to use. It’s straightforward, and if your machine is still under warranty, it’s the safest bet.
Step 1: Prep the machine
Start by removing any pods, filters, or accessories. Empty the water tank completely. Also, if you’ve got the Auto Off feature turned on, go ahead and switch it off. You don’t want the machine powering down halfway through the clean-up.
Step 2: Add solution and water
Pour the entire bottle of Keurig Descaling Solution into the reservoir. Then fill that empty bottle with fresh water and pour that in too. Now you’ve got a nice acidic cocktail ready to get to work.
Step 3: Start the cleaning cycle
Place your large mug on the drip tray. Hit the 8 oz or 12 oz button, doesn’t really matter which, just pick one and keep it consistent. Don’t use a pod. You’re brewing cleaning liquid here, not coffee.
Step 4: Repeat the brew process
Keep hitting the brew button and dumping the contents into the sink after each cycle. Do this until the “Add Water” light turns on. That means the tank’s empty and you’re ready for the next step.
Step 5: Wait it out
Now let the machine sit with the power on for 30 minutes. No shortcuts here. This gives the solution time to work through the scale hiding inside the lines and heating element.
Why the waiting time matters
It’s not just a random number. That 30-minute pause gives the descaler time to loosen mineral buildup stuck deep inside. If you skip this, you’re basically giving your machine a half-bath.
Step 6: Rinse with clean water
Rinse the tank thoroughly, then fill it up with fresh water. Run multiple brew cycles, usually around 5 to 7, with no pods until the “Add Water” light turns on again. This step clears out any leftover solution so your next cup doesn’t taste like cleaning fluid.
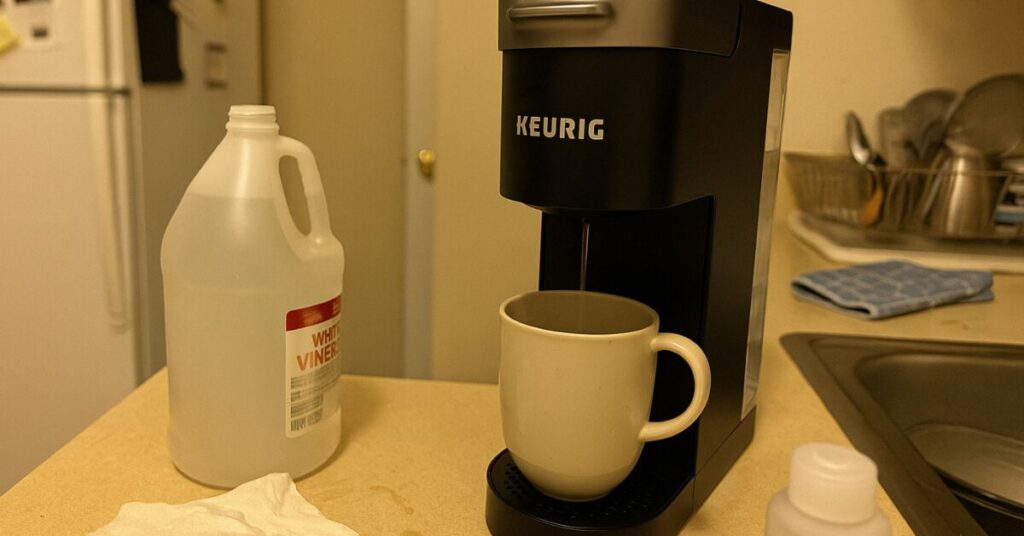
How to Descale Keurig Slim With Vinegar
So, you didn’t grab the official solution. That’s fine. You’re in good company. Vinegar is cheap, easy, and it gets the job done. Just be ready for your kitchen to smell like pickles for a bit.
Step 1: Mix your solution
Fill the water reservoir with a 1:1 ratio of white vinegar and water. Make enough to fill the tank completely. No need to overthink it.
Step 2: Start the brew cycles
Put your big mug in place, choose your brew size, and start the cleaning process just like you would with the solution method. Keep running brew cycles and dumping them out until the tank runs dry.
Step 3: Let it sit
Let the machine sit for 30 to 45 minutes with the power on. Vinegar needs a little more time to really break through the gunk. Think of this as the soak phase.
Step 4: Rinse well
Dump any remaining vinegar mix, then rinse the tank thoroughly. Refill with fresh water and start flushing. You’ll probably need to run 6 to 8 full brew cycles with no pod to clear the smell and taste.
Is Vinegar Safe for Descaling the Keurig Slim?
Short answer: Yes. Vinegar works. It’s a go-to in a lot of households, and if you don’t have Keurig’s solution on hand, it’s a solid backup.
But let’s be honest, it’s not Keurig’s official recommendation. They want you to use their branded solution because it’s designed for their machines, and using it keeps your warranty squeaky clean.
Here’s the real breakdown:
Pros
- Cheap and usually already in your pantry
- Works well at breaking down tough scale
- Easy to find anywhere
Cons
- Needs extra rinsing
- If you don’t rinse properly, your coffee might taste… vinegary
- Can leave behind a lingering smell if you try to rush the process
Important: Don’t use flavored vinegar, cleaning vinegar, or anything with additives. Stick to plain white vinegar. That’s the only one your coffee maker might forgive you for using.
How to Reset the Descale Light on Keurig Slim
The descale light on your Keurig Slim has exactly one job, and yet sometimes it acts like it’s got trust issues. Even after you’ve done everything right, it might still be glaring at you like you skipped a step. Let’s fix that.
If You Followed the Steps Above, This Should Happen Automatically
Once you’ve run all the rinse cycles and your water is clear, the descale light should turn off by itself. That’s what’s supposed to happen. No extra buttons, no secret codes. Just a happy machine, ready to make coffee again.
If It Won’t Turn Off, Try This
Sometimes the Keurig Slim needs a little nudge.
- Turn off the machine completely
- Hold down the 8 oz and 12 oz buttons at the same time for about 3 seconds
- You might hear a click or see a blink, that’s your reset
- If that doesn’t work, unplug the machine for 5 minutes before trying again
- Then plug it back in, turn it on, and see if the light finally gives up
This usually does the trick, especially if you’ve already rinsed thoroughly.
Still Stuck?
Okay, if that light is still shining, there are only a couple reasons.
- You may need to repeat the rinse cycle, if even a little solution or vinegar is left inside, the machine stays in cleaning mode
- Make sure you used enough water during the flush phase and didn’t skip any rinses
Still no luck? Now’s the time to either:
- Call Keurig support, or
- Look up your model’s manual
Yes, we know. Manuals are the last resort. But sometimes they actually help.
How Often Should You Descale Your Keurig Slim?
We get this one a lot, and the answer isn’t one-size-fits-all. The real sweet spot is every 3 to 6 months, but here’s how to figure it out based on your setup:
- Hard water in your area? You’re on the short end of that timeline. More minerals mean more frequent descaling1.
- Use your Keurig Slim multiple times a day? Monthly cleanings might be your new routine. The more it works, the more it needs a little TLC.
- Filtered or bottled water only? You can usually go closer to the 6-month mark, but don’t stretch it too far.
If your descale light keeps showing up early, that might be your machine’s way of saying, “Your tap water is rude.”
Common Mistakes That Ruin the Descale Process
Descaling should be simple, but a few classic missteps can mess things up fast.
- Cutting the rinse short: Don’t half-rinse. If any vinegar or solution stays in the machine, your next cup’s going to be sour.
- Leaving a pod in the chamber: No pods during descaling. Not even the reusable kind.
- Forgetting the reset combo: If you don’t hold the 8 oz and 12 oz buttons long enough, the descale light just keeps glaring.
- Skipping the final rinse: Always do that second full tank of clean water. Your taste buds will thank you. A neglected reservoir can even host bacteria and mold if it never gets a proper clean2.
- Trying random cleaners: Never, ever use bleach, soap, or household spray. Your Keurig Slim is not a countertop.
What to Do If You Haven’t Descaled in Forever
No shame here. Life gets busy, and your Keurig Slim probably hasn’t been holding a grudge.
Here’s what to do when it’s been a while:
- Start with a vinegar cycle. It’s stronger when it comes to built-up gunk and scale that’s been hanging out too long.
- Then follow up with the official Keurig solution. Yes, that means two full descales, but your machine deserves it.
- Expect a lot of crusty bits and sediment in that first cycle. Gross, but also kind of satisfying.
- If your first cup after descaling is cloudy or smells weird, don’t freak out. Run another rinse or two and it’ll settle down.
Give it a little extra care now, and you won’t have to replace it later.
You Descaled Your Keurig Slim, So Now What?
Now you get the reward, coffee that tastes the way it should. Smooth, hot, and without any mystery flavors.
If this was your first time doing it, it might’ve felt like a chore. But once you’ve done it once, the next time won’t feel like a big deal. Honestly, it’s just part of owning a machine that works hard for you every day.
Your Keurig Slim doesn’t ask for much. Just some water, the occasional rinse, and a proper descale every few months. Keep up with it, and it’ll keep showing up for you every morning without the drama.
FAQs
1. How do I put my Keurig in descale mode?
The Keurig Slim doesn’t have a separate descale mode. Once you pour in the descaling solution or vinegar mixture and start running brew cycles (with no pod), the machine enters the descaling process automatically. The key is to follow the full sequence, including the rinse phase, and not stop partway.
2. What button do I push to descale my Keurig with vinegar?
You can use either the 8 oz or 12 oz brew button to run the cleaning cycles. Just make sure to place a large mug on the drip tray, remove any pod, and keep pressing the same brew size until the tank is empty. Then let it sit and follow with a rinse using fresh water.
3. Which is better, vinegar or descaling solution?
Both work, but they have different strengths. Keurig’s descaling solution is the safer choice if your machine is under warranty, and it’s specifically made for the internal components. White vinegar is cheaper and effective, but it requires extra rinse cycles to fully remove the smell and taste.
4. Will vinegar damage the Keurig Slim?
No, plain white vinegar won’t damage the machine. Just don’t use cleaning vinegar, apple cider vinegar, or anything flavored. And always rinse thoroughly when you’re done.
5. Can I descale with lemon juice or baking soda?
No. Lemon juice and baking soda aren’t safe or effective for descaling your Keurig Slim. They don’t break down mineral buildup the way vinegar or the official solution does, and they can leave residue behind.
6. Can you still use Keurig when it says descale?
Yes, you can still brew coffee, but it’s not a great idea. If the descale light is on, your machine isn’t performing at its best. Ignoring it for too long can lead to poor taste, clogging, or even reduced lifespan.
7. How long does Keurig descale mode take?
The whole process, including waiting time and rinsing, takes about 30 to 45 minutes. The descaling phase itself only takes around 10 to 15 minutes, but the soaking and flushing steps are just as important.
8. How do I know when the descale is really done?
You’ll know you’re done when:
– The descale light turns off
– The machine is no longer asking for water
– There’s no smell or taste of vinegar or solution in your rinse cycles
If anything still smells off, rinse again before making your next cup.